Christmas Paper Crafts to Make
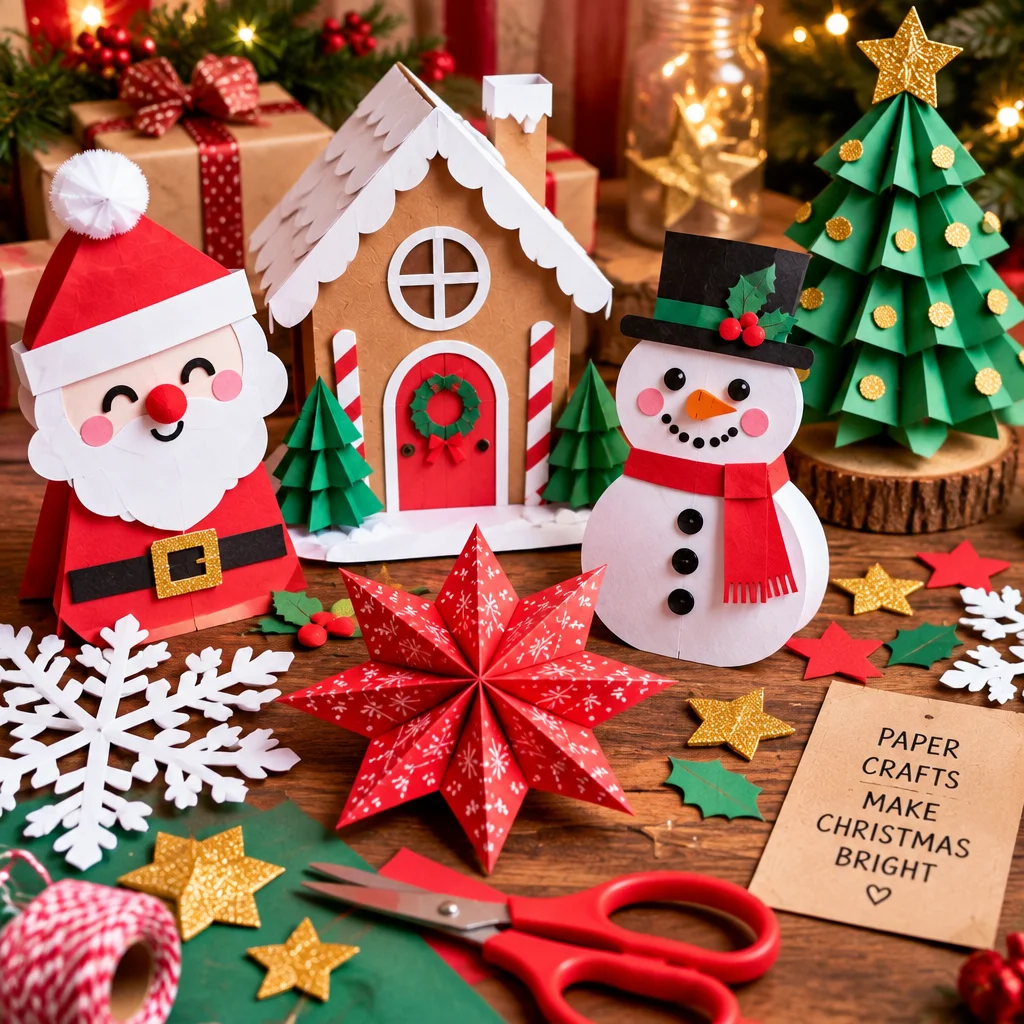
Christmas paper crafts are one of the easiest ways to make your home feel festive without spending a lot of money or needing advanced crafting skills. If you can fold, cut, and glue, you can create decorations that look charming on a tree, mantel, window, or holiday table. In this guide, I will walk you through several beginner-friendly paper projects, explain which paper works best, and share the little details that make your finished pieces look polished instead of homemade in a messy way. You will also find tips for making paper ornaments sturdier, kid-friendly adaptations, and smart storage ideas so your hard work survives until next year. Grab your scissors and let’s make something you will actually want to display.
Supplies for Christmas Paper Crafts
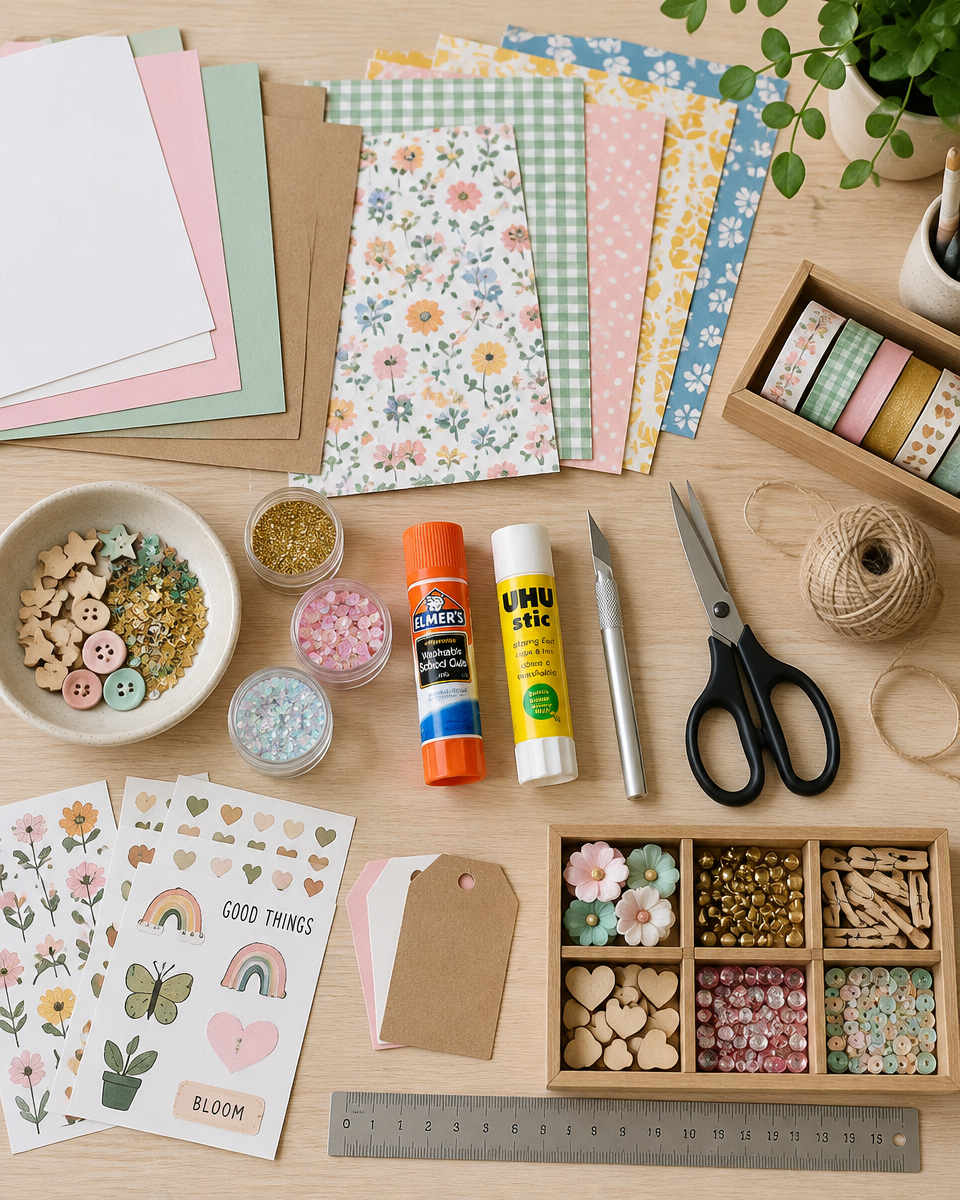
Most Christmas paper crafts use the same core tools, and getting set up well makes every project smoother. You do not need a full craft room, but a few basics will improve accuracy and durability.
- Paper: Keep a mix of lightweight (copy paper) for folding and medium-weight (cardstock) for structure. Patterned scrapbook paper is great for quick “wow” factor.
- Scissors: One sharp pair for clean edges. If kids are crafting, add blunt-tip safety scissors for them.
- Craft knife and cutting mat (optional): Helpful for crisp ornament shapes and tags, especially if you want professional-looking edges.
- Adhesive: A glue stick for large surfaces and liquid white glue or tacky glue for strong joins. Double-sided tape is excellent for clean seams with no drying time.
- Ruler and pencil: For measuring strips and keeping folds aligned. A light pencil mark is easier to erase than pen.
- Bone folder or the back of a spoon: Creases folds sharply, which makes stars and trees look neat.
- Hole punch and string: Essential for ornaments and garlands. Twine, embroidery floss, or ribbon all work.
- Embellishments (optional): Metallic markers, stickers, sequins, and a little glitter can elevate simple shapes.
Prep tip: clear a flat workspace and keep a small container for paper scraps. Tiny offcuts become confetti, tag accents, or garland pieces.
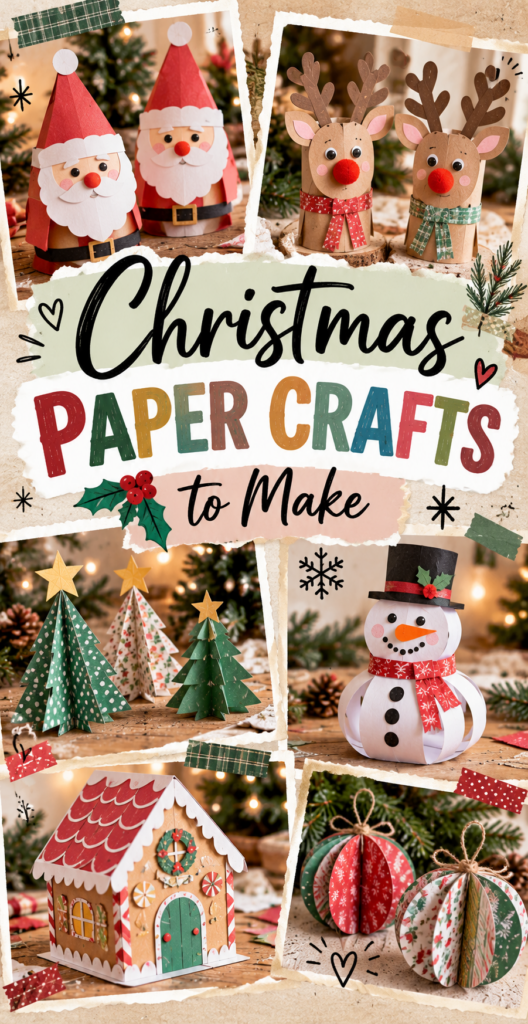
Christmas Paper Crafts to Make
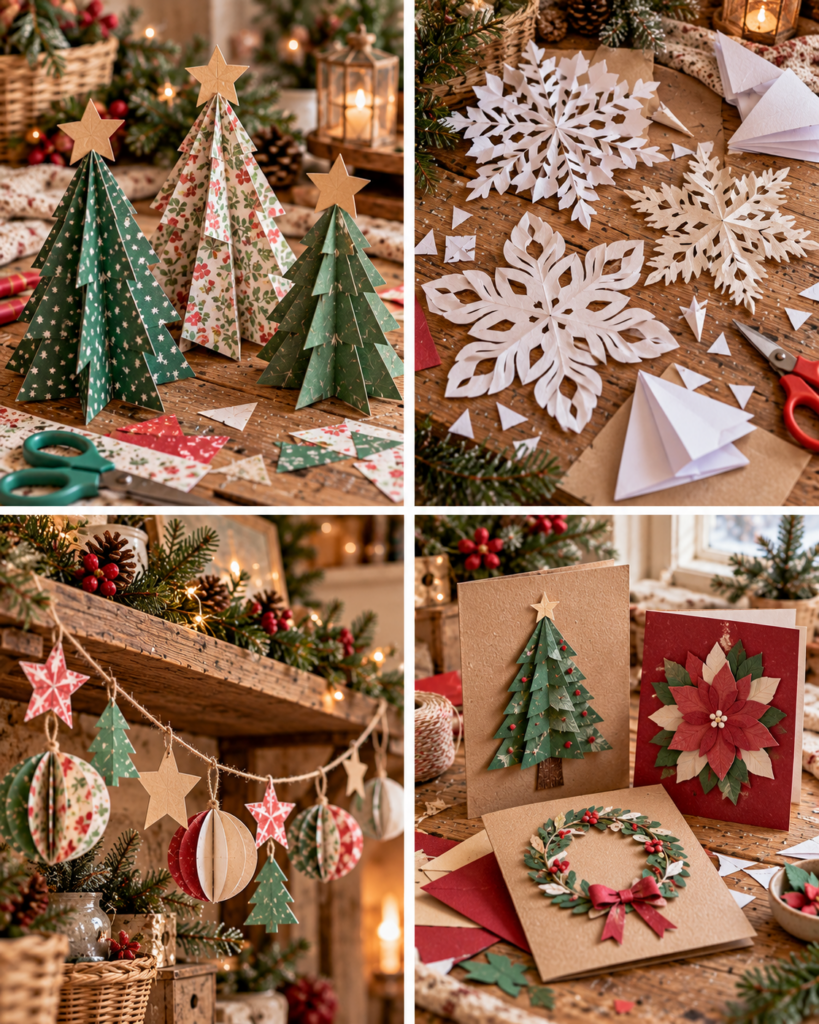
This section is your project menu. Each idea can be made with basic supplies, and most can be finished in 20 to 60 minutes depending on how many you make. If you are new to Christmas paper crafts, start with snowflakes or garlands, then move up to stars and ornaments as you get comfortable with folding and symmetry.
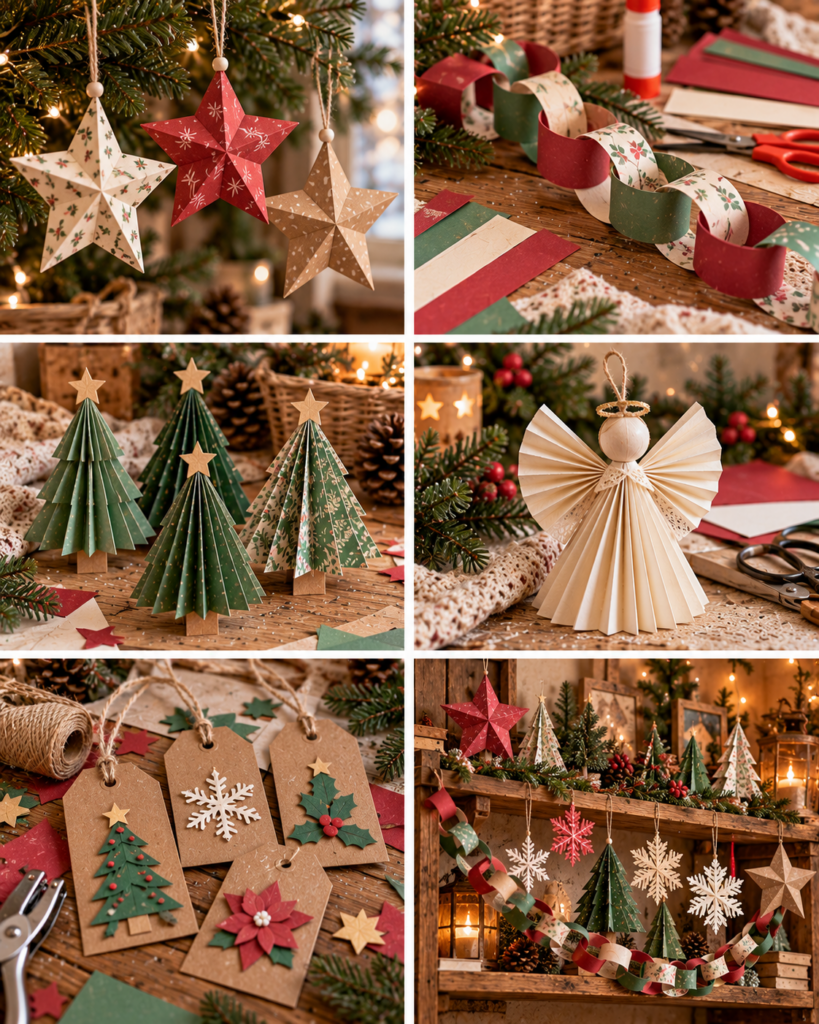
Paper Stars
Difficulty: Beginner to intermediate. Time: 20 to 45 minutes. Use: Tree decor, window stars, or gift toppers.
- Cut identical strips or squares. For a simple folded star, start with 6 squares (about 4 to 6 inches). Identical sizes matter so your points line up.
- Fold and crease firmly. Use a bone folder or spoon to press folds. Sharp creases make points crisp and prevent a “puffy” look.
- Assemble with clean adhesive. Glue stick works if you are layering broad surfaces. For small tabs, use tacky glue and hold for 10 to 15 seconds.
- Add a hanger. Punch a hole near one point and tie thread, or sandwich a loop of string between layers during assembly.
Finishing tip: Use metallic paper for instant shine, or edge the points with a gold marker. If your star looks uneven, it is usually due to inconsistent folds. Refold one unit rather than forcing the assembly.
Paper Snowflakes
Difficulty: Easy. Time: 10 to 25 minutes. Use: Window decor, table scatter, gift wrap accents.
- Start with a square. Trim a rectangle into a square first. A true square is the secret to symmetry.
- Fold into triangles. Fold in half diagonally, then in half again. For more delicate designs, fold one more time. Align edges carefully.
- Cut shapes along the edges. Snip small triangles, curves, and notches. Avoid cutting straight across the folded tip or your snowflake will fall apart.
- Unfold gently. Open slowly to prevent tearing thin bridges of paper. Flatten under a book for a minute if it curls.
Troubleshooting: If the center rips, your cuts were too close together. Leave thicker “spokes.” If it looks boring, add more small cuts near the outer edge rather than huge chunks.
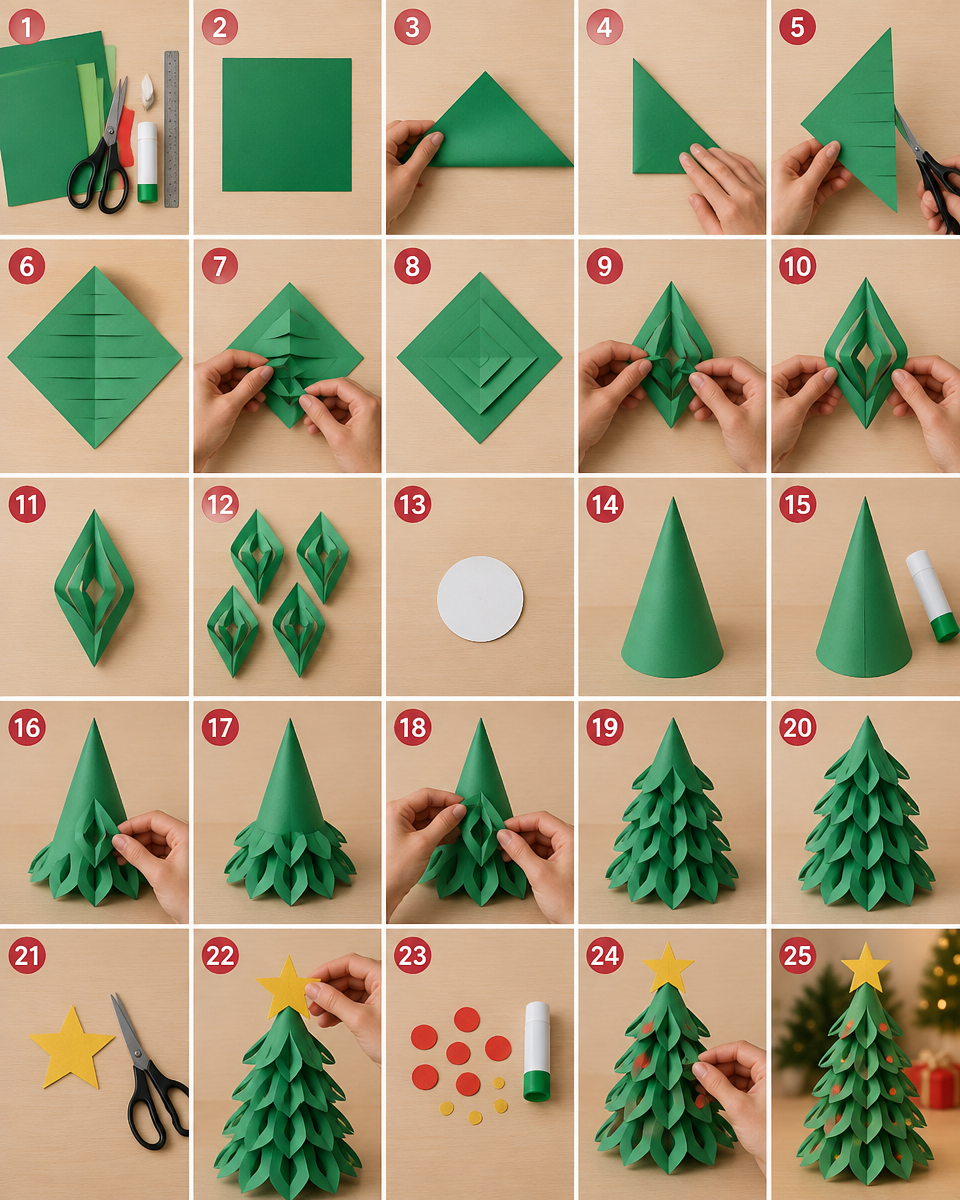
Paper Christmas Trees
Difficulty: Beginner. Time: 20 to 40 minutes. Use: Mantel display, place settings, advent village.
- Choose a tree style. Accordion-fold trees are quickest. Cone trees are sturdier. Layered strip trees look modern.
- Make a stable base. For cone trees, roll cardstock into a cone and tape inside. For accordion trees, skewer the folded stack onto a straw or dowel and glue into a small cardstock circle base.
- Add layers and detail. Cut fringed edges, punch tiny circles for ornaments, or wrap a thin paper garland around the tree.
- Top with a star. A small folded star or glitter sticker finishes the look.
Pro tip: If a cone tree keeps unrolling, your paper is too springy or the seam is too small. Use a wider overlap and strong double-sided tape.
Paper Ornaments
Difficulty: Beginner. Time: 20 to 60 minutes. Use: Tree ornaments, wreath accents, package decor.
- Pick a durable paper. Cardstock or scrapbook paper holds shape better than copy paper.
- Cut consistent shapes. For a classic 3D ornament, cut 6 to 10 identical circles. A traced template helps every circle match.
- Fold each circle in half. Crease sharply. These folds form the “segments” of the ornament.
- Glue segments together. Glue one half to the next, stacking until a sphere forms. Insert a loop of string at the top before the final join.
- Press and dry. Clip lightly with paper clips or clothespins (over a scrap of paper to prevent marks) until set.
Variation: Make teardrop ornaments by combining circle segments with one pointed segment. For a Nordic look, use red and white patterns or sheet music paper.
Paper Garlands
Difficulty: Easy. Time: 15 to 45 minutes. Use: Mantel, staircase, doorway, tree ribbon alternative.
- Choose a repeat shape. Chains, stars, trees, or hearts all work. Simpler shapes make longer garlands faster.
- Batch your cutting. Stack 3 to 5 sheets and cut together if your scissors can handle it. This keeps sizes consistent.
- Assemble with spacing. Tape shapes to twine from the back for a clean front. Use a ruler to space them evenly, especially if hanging on a mantel.
- Reinforce stress points. If you are hole-punching shapes, add a tiny ring of clear tape before punching so it does not tear.
Styling idea: Mix matte and metallic papers for depth. A garland looks more intentional when you repeat 2 to 3 coordinating colors rather than using every pattern at once.
Gift Toppers and Tags
Difficulty: Easy. Time: 10 to 30 minutes. Use: Finishing gifts, party favors, stocking stuffers.
- Cut tag bases from cardstock. Cardstock resists bending in transit. A simple rectangle with snipped corners looks classic.
- Add a layered accent. Glue a tiny star, tree, or snowflake on top. Layering gives dimension without bulky bows.
- Punch a hole and tie neatly. Thread twine through and knot close to the tag so it does not spin around the package.
- Write before attaching (optional). It is easier to write names on a flat surface than on a bumpy package.
Tip: If you are making many tags, create a quick “production line”: cut all bases, punch all holes, then decorate and write names.
“I tried the 3D paper ornaments with scrapbook paper I already had. The circles seemed tedious at first, but tracing a jar lid made it quick. They looked surprisingly store-bought on the tree, and my kids each picked patterns for their own.”
What Paper Is Best for Christmas Crafts?
Choosing the right paper is the difference between decorations that hold up and decorations that sag or tear. For most Christmas paper crafts, keep three types on hand: copy paper, cardstock, and decorative scrapbook paper.
Copy paper (around 20 lb or 75 gsm) is ideal for snowflakes and anything heavily folded, because it creases easily and does not get too bulky. It is also the safest choice for young kids learning to fold and cut. The tradeoff is that copy paper dents and wrinkles more easily, so it is not the best for ornaments that will be handled.
Cardstock (65 to 110 lb) is sturdier and stands up well for tags, cone trees, and 3D ornaments. If you are making hanging decorations, cardstock keeps clean edges and resists tearing at the hole punch. Very heavy cardstock can be harder to fold sharply, so score the fold line with the back of a butter knife or a bone folder before folding.
Scrapbook paper is perfect when you want patterns, music-note prints, or metallic effects. Many scrapbook sheets are medium weight, making them great for ornaments and garlands. Test glue on a small scrap first because some glossy papers repel watery glue and do better with double-sided tape.
For eco-friendly crafting, brown kraft paper and old book pages work beautifully, especially paired with red string or white paint pen details.
What Christmas Decorations Can You Make With Paper?
Paper is surprisingly versatile, so you can decorate nearly every part of your home with it. For windows, snowflakes and stars are classic because they catch light and look festive from inside and outside. Attach them with small loops of removable tape so they do not tear when you take them down.
For the tree, paper ornaments, mini stars, and paper chains add color without extra weight on branches. If you have a themed tree, paper makes it easy to match exact colors, like all-white snowflakes or red-and-gold stars. For mantels and shelves, paper Christmas trees in different heights create a “village” look, especially when mixed with pinecones or battery-operated candles placed safely away from paper.
Table decor is another area where Christmas paper crafts shine. Make place cards from folded cardstock, add paper snowflakes as coasters, or create a simple centerpiece by filling a bowl with paper stars and ornaments. Paper garlands work well on stair railings and doorway frames, but keep them away from heat sources like fireplaces, radiators, and open flames. Paper is flammable, so display it thoughtfully and avoid placing it near real candles.
If you like gifting, paper tags, toppers, and even small folded boxes can make presents feel handmade without adding clutter.
How Do You Make Paper Ornaments Last?
Paper ornaments can absolutely be reused year after year if you build them with durability in mind. Start by choosing a slightly heavier paper like cardstock or quality scrapbook paper, especially for 3D ornaments that will be handled. Use the right adhesive: glue sticks are fine for light contact, but for structural joins, tacky glue or strong double-sided tape creates a better bond.
Reinforce hanging points. A hole punched through plain paper can tear over time, especially if the ornament swings. Add a small square of clear tape where the hole will go, then punch through the tape and paper together. Another sturdy option is to glue a small paper tab inside the ornament and tie the hanger through that tab.
Consider sealing if your ornaments will be touched often. A thin coat of water-based craft sealer can add strength, but let it dry fully and test first on patterned paper to be sure colors do not bleed. Avoid heavy, wet coats that can warp paper. For ornaments that will be stored a lot, keep embellishments minimal. Large gems or thick glitter can snag and crush in storage.
Finally, store ornaments in a shallow box with tissue paper between layers. Durability is as much about careful storage as it is about construction.
Can Kids Make These Paper Christmas Crafts?
Yes, many Christmas paper crafts are excellent for kids, with a few smart adjustments. The easiest kid-friendly projects are paper chains, simple garlands, basic snowflakes, and decorated tags. Choose softer paper like copy paper or construction paper so small hands can fold it without frustration. Pre-cutting squares for snowflakes or strips for chains is a huge help, especially for younger children who are still learning to cut straight lines.
Safety matters. Use age-appropriate scissors, and supervise any crafting knife use closely or reserve it for adults only. If you are using small embellishments like sequins, keep them away from toddlers who may put items in their mouths. Glue sticks are usually the cleanest option for kids, while liquid glue can be used with a “dot, not a puddle” reminder to avoid soggy paper.
To set kids up for success, aim for processes with quick wins. For example, let them punch circles and decorate them with markers, then an adult can assemble the circles into a 3D ornament. Kids also love making “character” ornaments such as paper reindeer faces or Santa circles, because minor imperfections look like personality rather than mistakes.
If you are crafting with a group, cover the table, keep a scrap bin, and build in drying time so projects do not smear on the way home.
How to Store Paper Christmas Decorations
Storing paper decorations correctly is the best way to make sure they look good next year. The main enemies are crushing, moisture, and snagging. Start by sorting decorations by type: flat items (snowflakes, tags), 3D items (ornaments, stars), and long items (garlands). Flat items store best in a folder, large envelope, or document box so they stay unbent.
For 3D ornaments and dimensional stars, use a shallow plastic bin or sturdy gift box. Line the bottom with tissue paper, then place ornaments in a single layer whenever possible. If you must stack, add tissue paper between layers so points and edges do not dent each other. Garlands can be wrapped around a piece of cardboard like a ribbon spool to prevent tangles and tearing. If your garland includes glued elements, make sure everything is fully dry before storing to avoid sticking.
Moisture control is important because paper can warp and adhesives can weaken in humid storage. Choose an indoor closet over an attic or garage if you can. If you live in a humid area, add a small moisture absorber packet to the bin, kept away from direct contact with paper. Label boxes clearly, and include a small note of what needs repair so you remember next season.
Frequently Asked Questions About Christmas Paper Crafts to Make
Why does my paper curl after I glue it?
Curling usually happens when one side gets wetter than the other. Use less liquid glue and spread it thinly, or switch to a glue stick or double-sided tape for flatter results. If you must use liquid glue, press the piece under a heavy book with scrap paper on top once it is tacky, not soaking wet. Also, lightweight paper curls faster, so consider cardstock for layered crafts.
How do I get cleaner cuts on detailed snowflakes?
Start with sharp scissors and do not rush. Small, controlled snips create smoother curves than trying to cut a whole shape in one go. If the paper is thick or folded many times, reduce the number of folds so you are not cutting through a bulky stack. For very detailed designs, an adult can use a craft knife on a cutting mat, but keep fingers clear and work slowly.
My star points do not line up. What am I doing wrong?
Misaligned points usually come from inconsistent measuring or slightly off-center folds. Cut all pieces with a template and stack-cut when possible. When folding, match corners carefully before creasing, then press firmly with a bone folder. If you are assembling multiple units, dry-fit them without glue first. That quick test shows which piece is slightly off so you can refold or recut it.
Can I use recycled paper like magazine pages?
Yes, but choose wisely. Magazine pages are glossy, so liquid glue may not bond well and can wrinkle the ink layer. Double-sided tape or a glue stick works better. Also, magazine paper can be slippery for precise folds, so use it for simpler shapes, like tags, chains, or folded trees with fewer layers. Let any adhesive set fully before hanging to prevent pieces from peeling.
How do I hang paper decorations without damaging walls or windows?
Use removable painter’s tape or removable adhesive dots for windows and painted walls. For garlands, removable hooks are helpful, but keep tension gentle so paper does not tear. If you are hanging from a ceiling, lightweight decorations can be attached to clear thread and taped to a ceiling corner with removable tape. Always test a small area first to be sure your surface finish is not affected.
What is the fastest Christmas paper craft for last-minute decorating?
A simple paper chain or a punched-shape garland is the quickest. Cut strips, loop and glue, and you have instant length. If you have a hole punch, punch circles from patterned paper, then tape them to twine. Both options look festive, require minimal measuring, and are easy to scale up. Add metallic paper every few links or circles for a more polished finish.
Conclusion
Christmas paper crafts are a practical, cheerful way to decorate, especially when you want something handmade that still looks tidy and intentional. Start with a small set of supplies, pick one project type, and make a few pieces to learn what paper weight and adhesive you like best. Snowflakes and garlands build confidence fast, and then you can move into sturdier trees, stars, and ornaments that you will want to bring out every season. Your next step: choose one color palette, cut a small batch of shapes, and make a matching set of tags or ornaments for a cohesive look. Once you see how quickly paper transforms a space, you will be hooked.

Today Craft Ideas
Sharing simple craft ideas, seasonal inspiration and creative projects for everyday life.