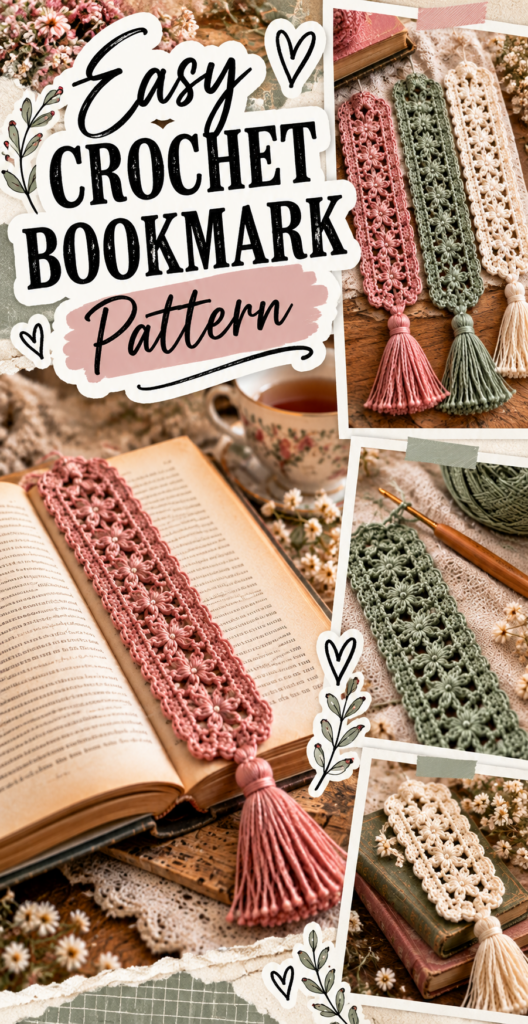
Easy Crochet Bookmark Pattern
If you are looking for a simple, satisfying crochet bookmark pattern that actually stays in your book and looks neat, you are in the right place. Bookmarks are one of the best beginner crochet projects because they are small, quick, and practical, yet they still teach core skills like consistent tension, turning, and clean edges. In this guide, you will learn exactly what yarn and hook to use, how to choose a good size, and how to crochet a flat, sturdy bookmark with a tidy border and an optional tassel. I will also share troubleshooting tips for curling, wavy edges, and uneven stitches, plus several customization ideas so your bookmark can match your favorite book or gift occasion.
Materials and Yarn
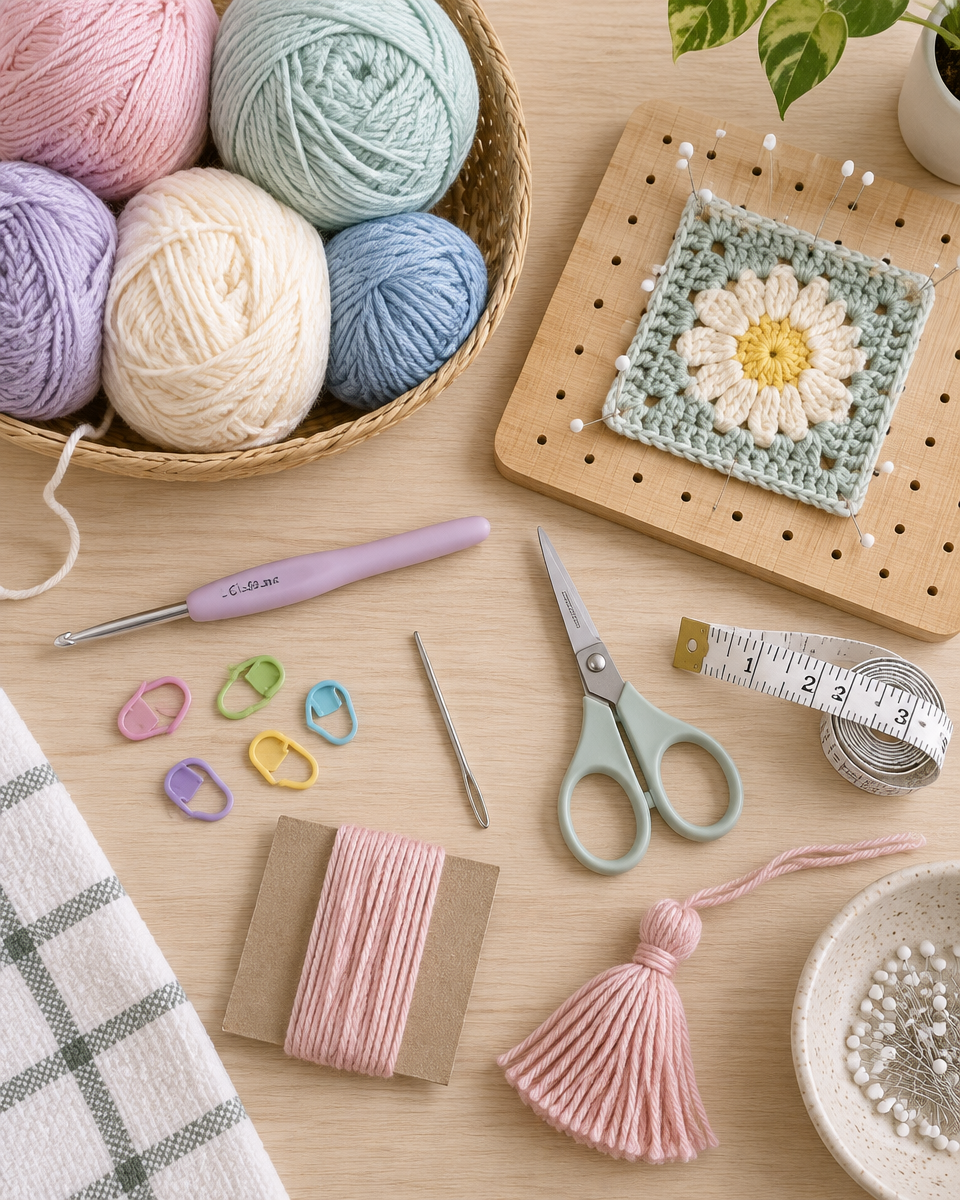
Before you start this crochet bookmark pattern, gather materials that help you get a crisp, flat result. Because bookmarks live inside books, you want a fabric that is smooth, not bulky, and not too stretchy.
- Yarn: Choose a smooth yarn in a light or medium weight. Lighter weights make slimmer bookmarks that do not dent pages. Avoid fuzzy yarns because they can pill and snag on paper.
- Crochet hook: Use the hook size recommended on your yarn label as a starting point. For tighter stitches (great for bookmarks), it is fine to go down one hook size.
- Scissors: Sharp scissors give clean ends, which makes weaving in tails easier and neater.
- Tapestry needle: A blunt yarn needle is best for weaving ends without splitting fibers.
- Measuring tape or ruler: Helps you hit your desired width and length, and it is useful when customizing for different books.
- Optional: Stitch markers for counting, blocking board and pins for shaping, and a small piece of cardboard for making a tassel.
Preparation tip: pull a short length of yarn from the skein and give it a gentle tug. If it stretches a lot and does not spring back, it may grow over time. For a stable bookmark, pick yarn with a little structure.
Best Yarn for a Crochet Bookmark
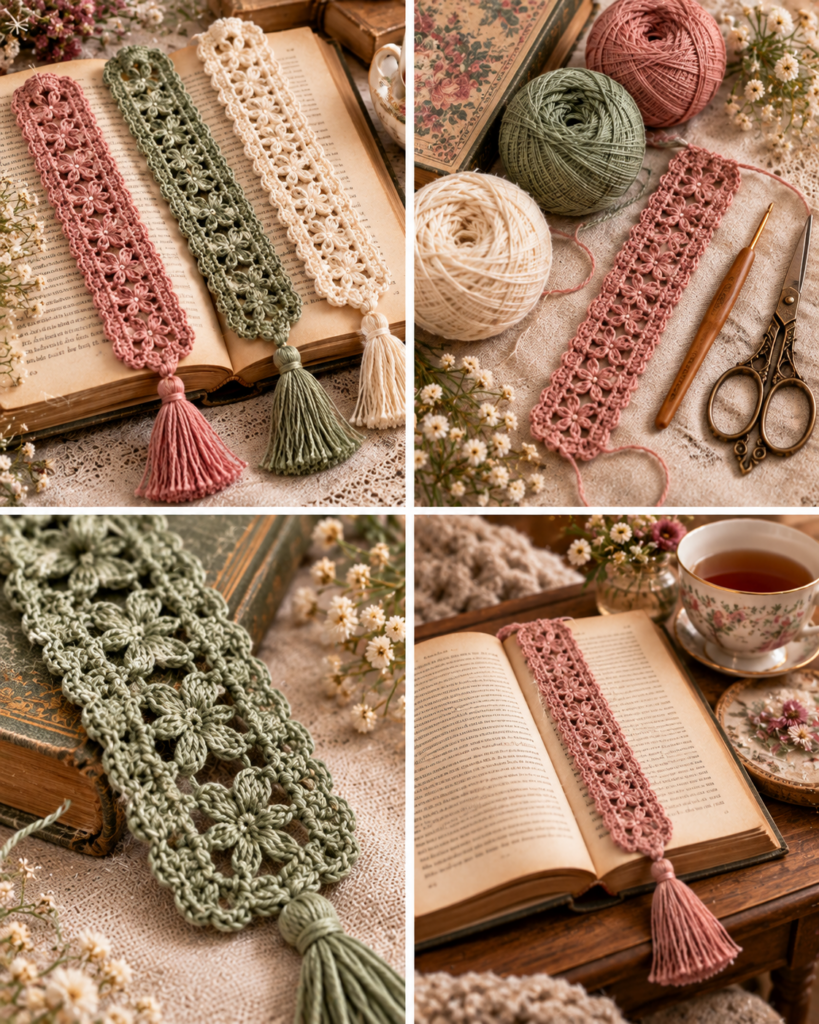
The best yarn for a crochet bookmark pattern is usually cotton or a cotton blend. Cotton has enough body to hold shape, it blocks well, and it stays flatter than many acrylics. Mercerized cotton is especially nice because it has a subtle sheen and smooth stitch definition, which makes even simple stitches look polished.
Acrylic can also work, especially if you are using what you already have. If you choose acrylic, pick a smooth, tightly spun yarn. Softer, “blanket-style” acrylics are comfortable but often too thick and plush for a bookmark. Acrylic also benefits from gentle blocking to reduce curling, but be cautious with heat because some acrylic can melt or lose shape if overheated.
Thread crochet (size 10 cotton thread, for example) makes beautiful, delicate bookmarks with lace detail, but it is less forgiving for beginners because it shows tension changes. If you are new, try a sport weight or DK cotton first, then explore thread later.
Color choice matters too. Solid colors show stitch texture clearly. Variegated yarn can look fun, but it may hide your edges and make counting harder. If your goal is a crisp gift, choose a solid or subtle tonal shade.
Crochet Bookmark Size
One reason bookmarks are so beginner-friendly is that sizing is flexible. Still, it helps to start with a target size so your bookmark fits comfortably between pages without bunching. Most crocheted bookmarks look best when they are narrow enough to sit inside the margins and long enough to peek out slightly from the top or bottom of the book.
A practical starting size for this crochet bookmark pattern is about 1.25 to 1.75 inches wide and 8 to 10 inches long, not counting the tassel. If you are making a bookmark for a paperback, aim shorter. For a tall hardback or a textbook, go longer. Remember that a tassel adds extra length, so keep the crocheted portion a bit shorter if you plan to add one.
Gauge is not critical, but stitch consistency matters for straight edges. If your stitches are very tight, your bookmark may turn out narrower and stiffer. If your stitches are loose, it may look lacy and can stretch. The good news is that you can easily adjust by adding or subtracting starting chains for width, and adding rows for length.
Tip: if you are gifting, slide your work into a book as you go to check the feel and thickness.
Easy Crochet Bookmark Pattern
This easy crochet bookmark pattern uses simple stitches and a clean border so it looks finished even if you are a beginner. The body is made in rows for easy length control, then you add a quick edging and an optional tassel.
Skill level: Beginner
Estimated time: 30 to 60 minutes (plus weaving ends and optional blocking)
Stitches used: chain (ch), single crochet (sc), half double crochet (hdc), slip stitch (sl st)
Starting Chain
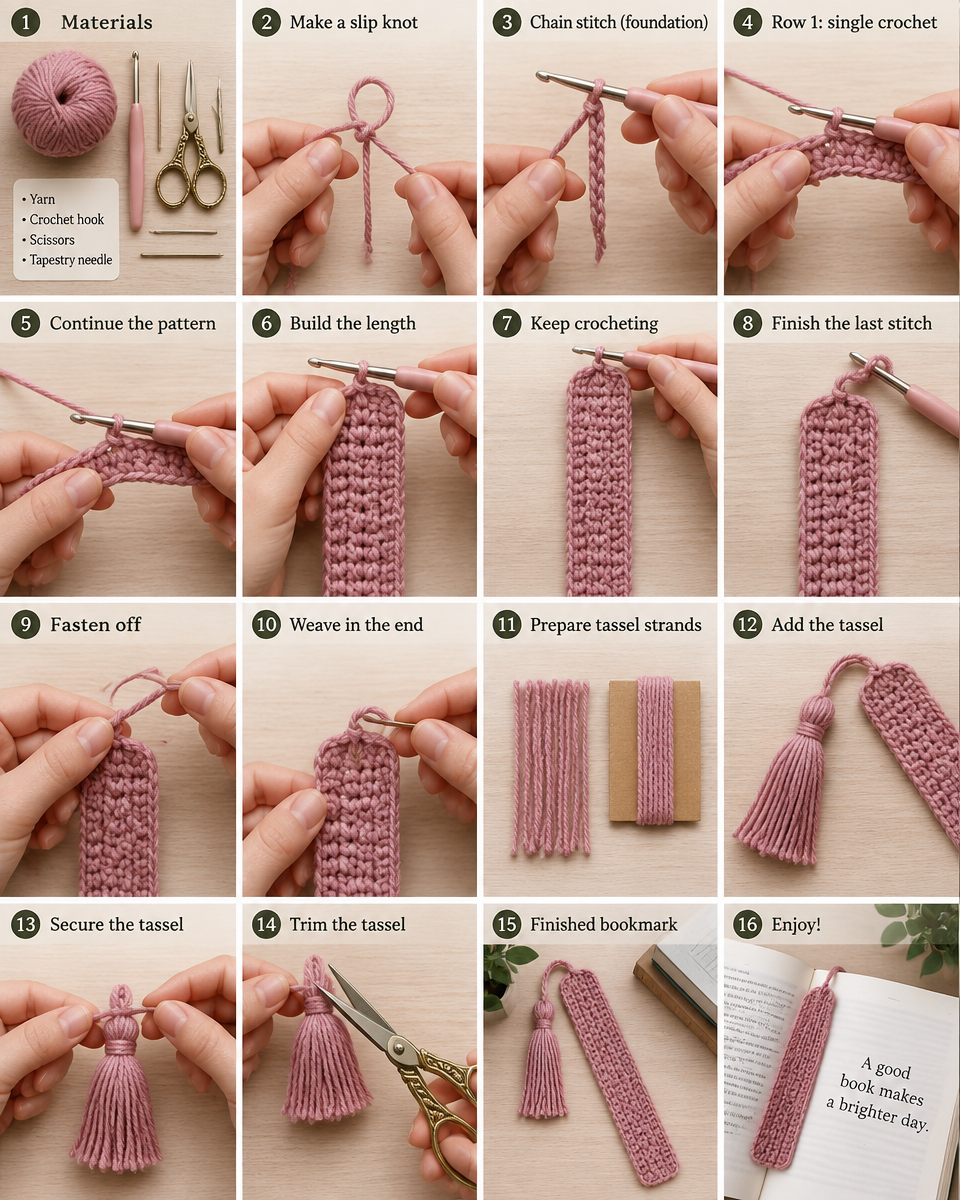
- Make a slip knot and place it on your hook. Keep the loop snug but not tight so you can insert the hook smoothly.
- Chain 11 for a narrow bookmark, or chain 13 for slightly wider. The number of chains controls width, so you can adjust later once you see how it looks in your yarn.
- Add 1 turning chain (ch 1). This helps your first row sit flat and prevents the edge from pulling inward.
Why this matters: a consistent starting chain sets the foundation. If your chain is too tight, your first edge will curl. If needed, use a hook one size larger just for the starting chain, then switch back for row 1.
Crochet the Bookmark Body
- Row 1: Starting in the second chain from the hook, work sc across. You should have 11 sc if you started with ch 12 total (11 + turning chain), or 13 sc if you made a wider start.
- Row 2: Ch 1, turn. Work hdc in each stitch across. Hdc builds faster than sc and creates a smooth, flexible fabric that still lies flat.
- Row 3: Ch 1, turn. Work sc in each stitch across. Alternating sc and hdc helps reduce curling and gives a subtle texture.
- Repeat Rows 2 and 3 until the bookmark reaches about 7.5 to 9.5 inches long, depending on your preference. End with an sc row for a firm edge.
Why this matters: alternating stitch heights balances tension. If you do only taller stitches, edges can flare. If you do only sc, the bookmark can feel stiff. This blend is a reliable middle ground for a first crochet bookmark pattern.
Finish the Edge
- Do not fasten off yet. Ch 1 and rotate your work to crochet around the outer edge.
- Work sc evenly around the entire bookmark. Place 1 sc in each row end along the sides. In each corner, work 2 sc to turn without puckering.
- Join with a sl st to the first sc of the edging. This makes the border continuous and tidy.
- Fasten off and leave a 6 to 8 inch tail for weaving in.
Why this matters: the border locks in your edges, hides minor tension inconsistencies, and helps the bookmark stay flat inside a book.
Add a Tassel
- Cut 8 to 12 strands of yarn, each about 8 inches long. Use fewer strands for thin yarn and more for thread or very fine yarn.
- Fold strands in half and use your hook to pull the folded loop through one end of the bookmark.
- Pull the tails through the loop to make a lark’s head knot. Tighten gently so you do not distort the edge.
- Trim the tassel evenly. If you want a fuller tassel, add more strands instead of making it longer.
Tassel tip: if you worry about shedding, twist the strands slightly before attaching, or use cotton yarn for a cleaner finish.
What Crochet Stitch Works Best for Bookmarks?
The best stitch for a bookmark is one that makes a flat, stable fabric without too much bulk. For most yarns, single crochet is a top choice because it is dense and resists stretching. It also holds up well to frequent use. The tradeoff is that it can feel a bit stiff, especially in cotton, so a narrow sc-only bookmark can become board-like.
Half double crochet is another excellent option. It works up quickly, creates a smooth surface, and drapes nicely. However, hdc edges can sometimes look wavy if tension varies, so adding a simple sc border is a smart fix.
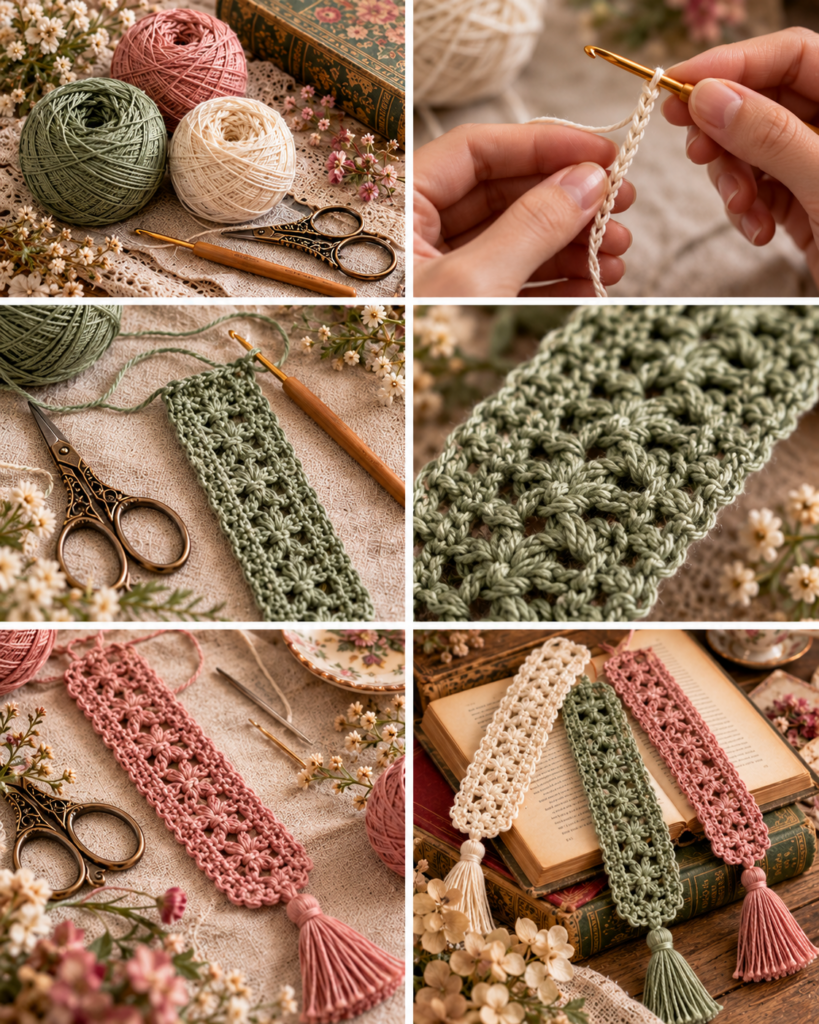
If you want something decorative, moss stitch (sc, ch 1 repeat) makes a beautiful, flexible texture that stays relatively flat, especially with a border. Filet crochet and lace stitches can look stunning, but they are better once you are comfortable counting and maintaining consistent tension.
For this crochet bookmark pattern, the alternating sc and hdc gives you the best of both: firmness and flexibility. If you prefer one stitch, you can absolutely make the whole body in sc and then block it lightly to soften the look.
How Wide Should a Crochet Bookmark Be?
A good width for a crochet bookmark is usually between 1 and 2 inches. Narrow bookmarks slide easily between pages and do not create a bump in the spine. Wider bookmarks give you more space for stitch patterns, color changes, or letters, but they can feel bulky in smaller paperbacks.
To choose the right width, think about the book size and paper type. Thin, delicate pages (like in some novels or bibles) do better with a slim bookmark. Thick, sturdy pages (like planners or textbooks) can handle a wider piece without creasing.
As a quick planning trick, measure your starting chain. If you want a 1.5 inch wide bookmark, crochet a short swatch of 10 stitches in your chosen stitch and measure it. Then adjust the starting chain up or down. Remember that adding a border adds a tiny bit of width too.
If you are making a set, keep the width consistent and vary colors or tassels for personality. Consistent width also makes it easier to block multiple bookmarks at once, and your finished set will look cohesive.
How Long Should a Crochet Bookmark Be?
Most crochet bookmarks look and function best at 8 to 10 inches long, plus any tassel. This length lets the bookmark reach deep enough into the book to stay put, while still leaving a little visible at the top or bottom so you can grab it easily.
For smaller paperbacks or pocket-sized journals, aim for 6.5 to 8 inches. For tall hardbacks, planners, or textbooks, you may prefer 10 to 12 inches. If you add a tassel, consider shortening the crocheted body by 1 to 2 inches so the total length does not become awkward.
Length is the easiest part of this crochet bookmark pattern to customize: simply crochet more rows until you like it. Try it in a book as you go. If the bookmark slips out when you close the book, it is probably too short or too smooth. Adding a tassel, a small bead (secured safely), or a slightly longer body usually fixes that.
Also consider how you read. If you like the bookmark to stick out the bottom, go a little longer. If you prefer it hidden, keep it closer to the page height.
How Do You Keep a Crochet Bookmark Flat?
Curling is the most common beginner frustration with any crochet bookmark pattern. The good news is that flatness is usually a combination of yarn choice, stitch balance, and finishing.
- Use stable yarn: Cotton stays flat better than very stretchy yarns.
- Avoid an overly tight starting chain: If the foundation edge pulls, the whole piece curves. Consider a larger hook for the chain only.
- Add a border: A single crochet edging around the bookmark helps “frame” the fabric and reduces rolling edges.
- Block gently: Wet blocking works well for cotton. Dampen the bookmark, shape it straight, pin if needed, and let it dry fully. For acrylic, use light steam from a distance and never press the iron directly onto the yarn.
- Check your stitch counts: Accidentally adding stitches at the ends can make the sides ruffle instead of lying flat.
Safety note: when steam blocking, keep hands away from steam and work on a heat-safe surface. If you are unsure of fiber content, test on a small swatch first to avoid damage.
Can Beginners Crochet a Bookmark?
Yes, a bookmark is one of the best first projects, and this crochet bookmark pattern is designed with beginners in mind. You practice chaining, turning, and working into rows without the pressure of shaping, sleeves, or sizing like you would with wearables. Even if your tension is not perfect, a border and light blocking can make your result look impressively finished.
To set yourself up for success, focus on three beginner skills:
- Consistent tension: Try to keep your yarn hand steady. If your hands get tired, pause, stretch your fingers, and continue.
- Clean edges: Always work into the last stitch of each row. Many beginners accidentally skip it, causing the bookmark to narrow.
- Counting rows: If you want a matched pair or a set, count rows or measure length rather than guessing.
A reader shared this after trying the pattern:
Reader testimonial: “I picked this crochet bookmark pattern as my first project after learning chain and single crochet. The alternating rows helped me see the difference between stitches, and the border made it look so much neater than I expected. I made three more as gifts once I got the hang of it.”
If you make a mistake, remember that yarn can be unraveled and redone. That is part of learning, not a failure.
Ways to Customize Your Bookmark
Once you have the basic crochet bookmark pattern down, customizing is where the fun begins. Small changes can make the same pattern look completely different.
- Color stripes: Switch colors every 2 to 4 rows for clean stripes. To avoid messy edges, carry yarn up the side and cover it with the border, or cut and weave ends carefully.
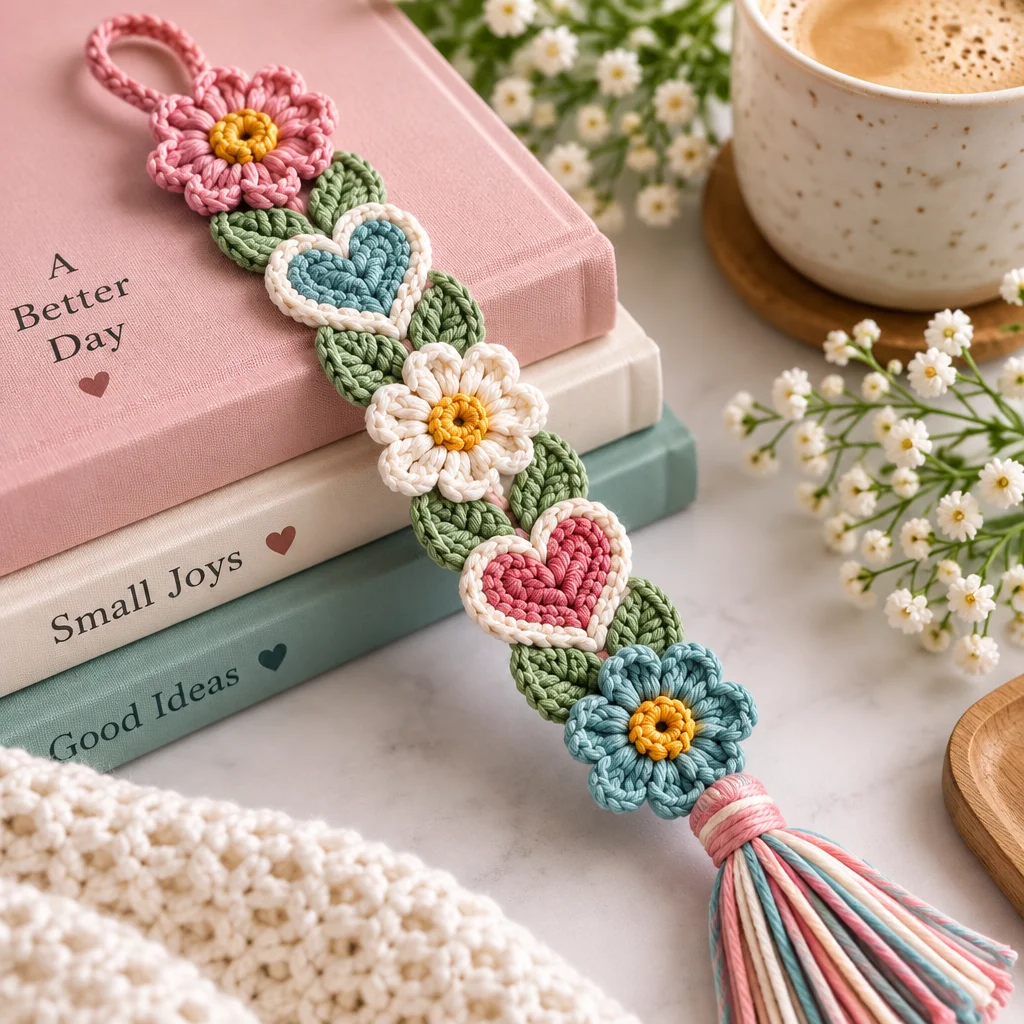
- Add a simple motif: Sew on a small crocheted heart, star, or flower. Keep embellishments flat so they do not create a bump in the book.
- Try a picot edge: Replace the sc border with a picot border for a delicate look (sc, ch 3, sl st in the first chain).
- Personalize with initials: Use surface crochet to stitch an initial, or embroider with a tapestry needle and contrasting yarn.
- Change the texture: Swap the body to moss stitch for a woven look, or use back loop only sc for subtle ridges.
- Add a loop: Crochet a small loop at the top to hook over a journal elastic, great for planners and notebooks.
Tip for gifts: pair the bookmark with a matching tassel color and a small handwritten note about the yarn and care instructions. It turns a quick make into something meaningful.
Frequently Asked Questions About Easy Crochet Bookmark Pattern
Why are my bookmark edges wavy?
Wavy edges usually come from adding extra stitches at the ends or uneven tension. Count your stitches every few rows to confirm the width is consistent. If you see the stitch count growing, you may be crocheting into the turning chain plus the last stitch. A single crochet border can tame slight waviness, and blocking helps, but fixing stitch count is the real solution.
My bookmark is curling. Did I do something wrong?
Curling is common, especially with tight tension or taller stitches. First, check your starting chain. If it is tighter than the rows, it will pull and curve. Next, add a border around the entire piece and block it. Cotton responds very well to wet blocking. If it still curls, go up a hook size or switch to a stitch pattern with more balance, like alternating sc and hdc.
What hook size should I use if I do not have the recommended one?
For a crochet bookmark pattern, you can be flexible. If you use a slightly smaller hook, the bookmark becomes denser and often flatter, which is good, but it can also become stiff. A larger hook creates a lighter fabric that may stretch more. Start with what you have, crochet a small swatch of a few rows, and decide if you like the feel before committing.
How do I change colors neatly without bulky knots?
Change colors on the last step of the last stitch of a row: yarn over with the new color to complete the stitch, then turn and continue. Leave 4 to 6 inch tails and weave them in along the edge. If you plan a border, you can carry the unused color up the side for short stripe sections and hide it under the edging to keep the front clean.
Is it okay to add beads to a tassel?
Yes, as long as the bead hole fits your yarn and the bead is secured so it cannot fall off. Thread the yarn tails through the bead and tie a firm knot that cannot slip back through. Keep beads small and smooth to avoid damaging pages. If the bookmark is for a child, skip beads due to choking risk and choose a simple tassel instead.
How should I wash and care for a crocheted bookmark?
Fiber content matters. Cotton bookmarks can usually be hand washed in cool water, gently squeezed in a towel, then laid flat to dry. Acrylic can often handle gentle hand washing too, but avoid high heat. If the bookmark gets wrinkled, re-block it lightly. Try not to scrub tassels aggressively, as that can fray the ends and make them look fuzzy.
Conclusion
This easy crochet bookmark pattern is a small project with big payoff: you practice essential skills, you get a useful finished item, and it is perfect for gifts. Start with smooth cotton yarn, choose a narrow width that fits your book, and use the alternating rows plus a simple border for a flat, tidy look. If your edges are imperfect, do not worry, the edging and light blocking can transform the final result. Your next step is simple: pick a yarn color you love, crochet one bookmark to test your preferred width and length, then make a matching set with stripes, picot edges, or personalized initials.
Today Craft Ideas
Sharing simple craft ideas, seasonal inspiration and creative projects for everyday life.